By Elijah O’Donnell
Well Folks, there’s no doubt about it. Skies are bluer, the sun shines hotter and that weird transition from winter to now that us Edmontonians are supposed to call spring has come and gone again. It’s summer. There are a lot of things that I look for to signal the arrival of the sunny season: dodging people left and right on Whyte Ave., a constant craving for ice cream and, most of all, the dandelions. I know they rear their yellow heads in the spring but summer is the time I want to start picking them up and braiding them into crowns.
It’s something I’ve done since I was a kid, and a clear indication of my very hippie upbringing. They’re a great little craft to fill an afternoon outing and they’ll look great in those #YEG #summer posts.

Photo by Karlie Mickanuik
First you’ll need to find a good crop of dandelions, or any other long stemmed flower. You’ll need anywhere from 10 to 20 flowers, depending on the size of both your head and the heads on the flowers.
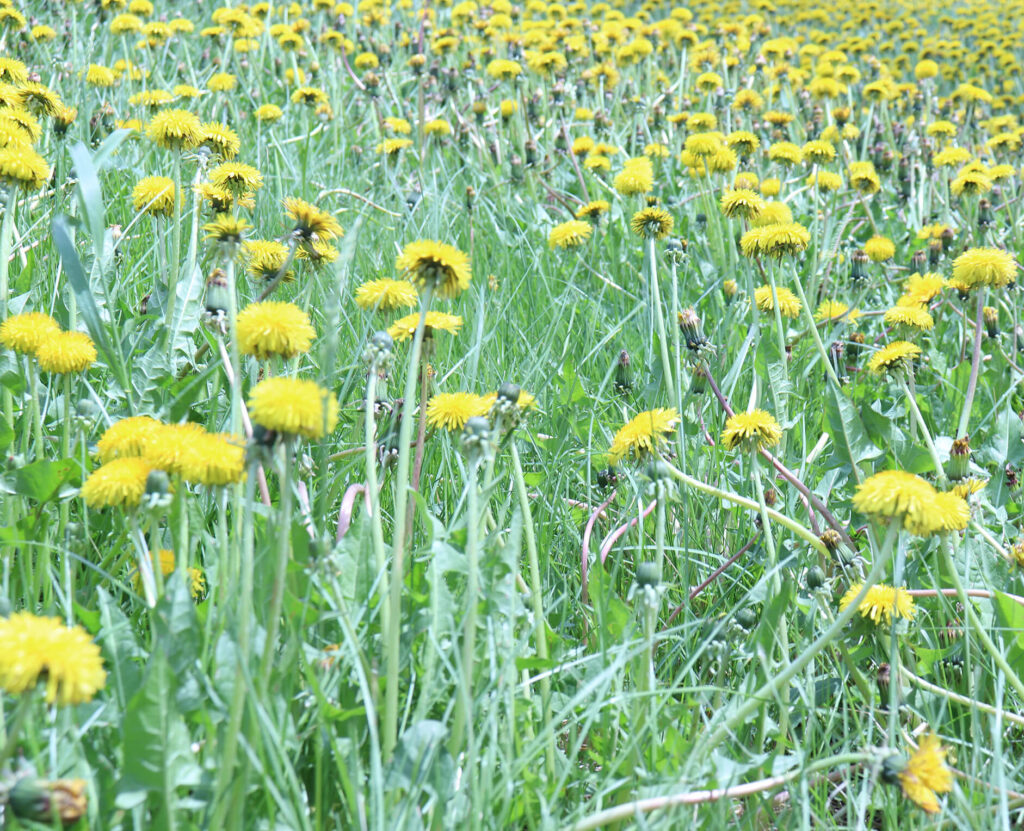
Photo by Karlie Mickanuik
Next start picking them at the point where the stem meets the earth. You want to make sure the stems are long enough to be looped into the braided chain.
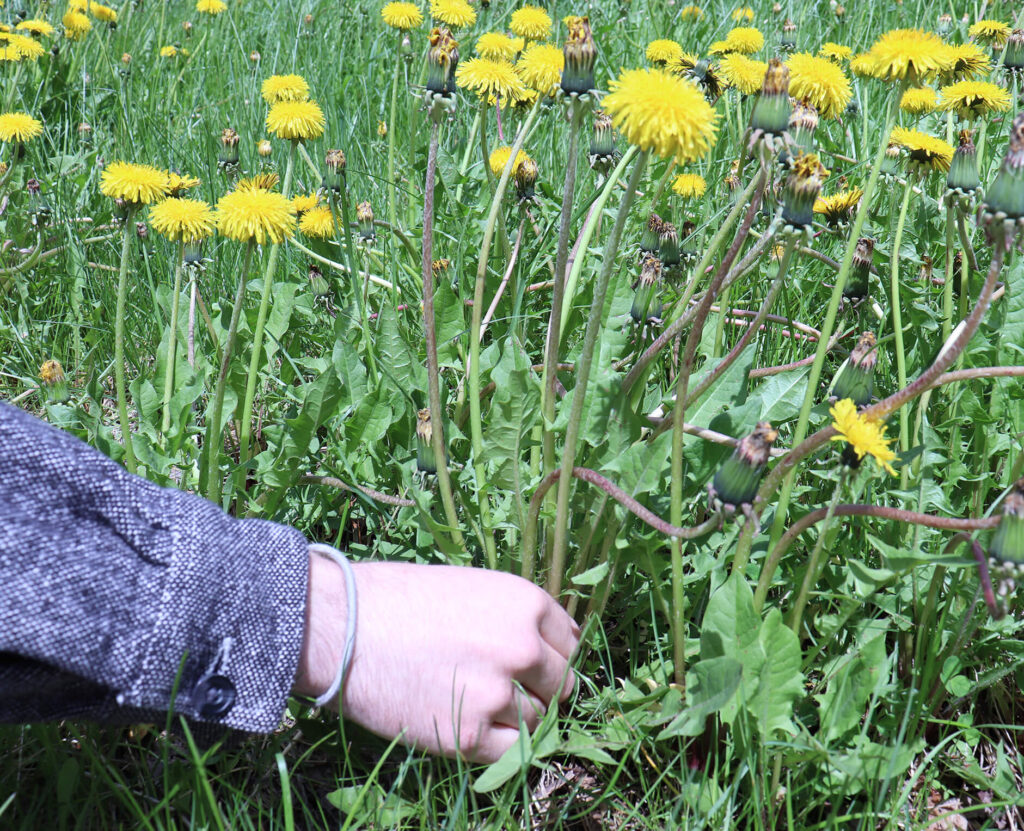
Photo by Karlie Mickanuik
Optional step: Find a nature-y spot with some immaculate vibes. These solid visuals and vibes will 100 per cent amp up the creation process. Plus it makes a great backdrop for pictures.

Photo by Karlie Mickanuik
To start, take two flowers and make an ‘X’ shape with them, making sure the one in your left hand is on top of the one in your right.
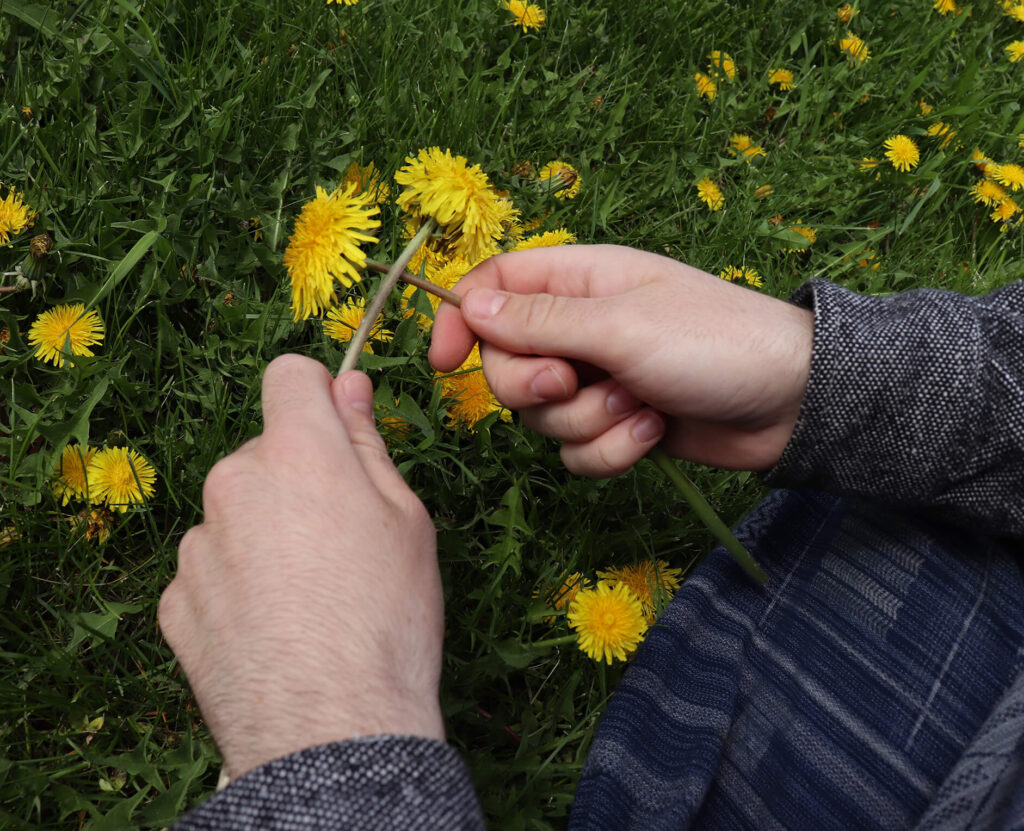
Photo by Karlie Mickanuik
Take the right stem and bend it up and over the left stem so it sits to the left of the two flowers.
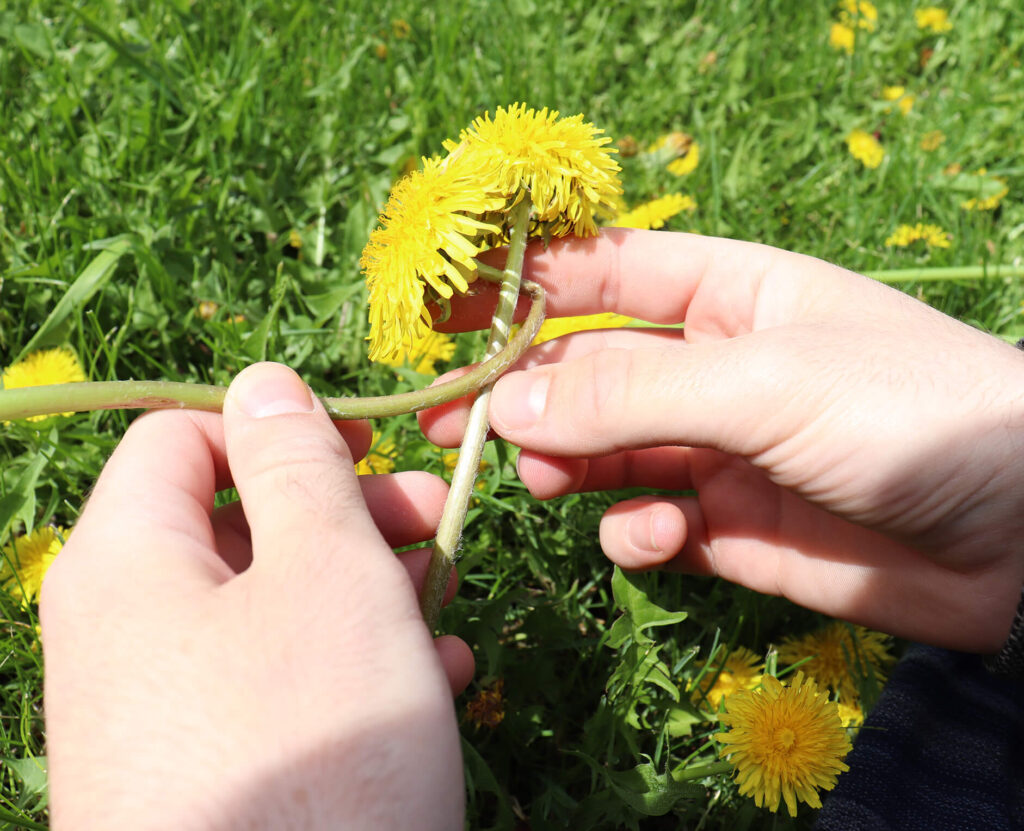
Photo by Karlie Mickanuik
Loop it around the back of the two flowers…

Photo by Karlie Mickanuik
…and over the front so it sits in line with the other stem.
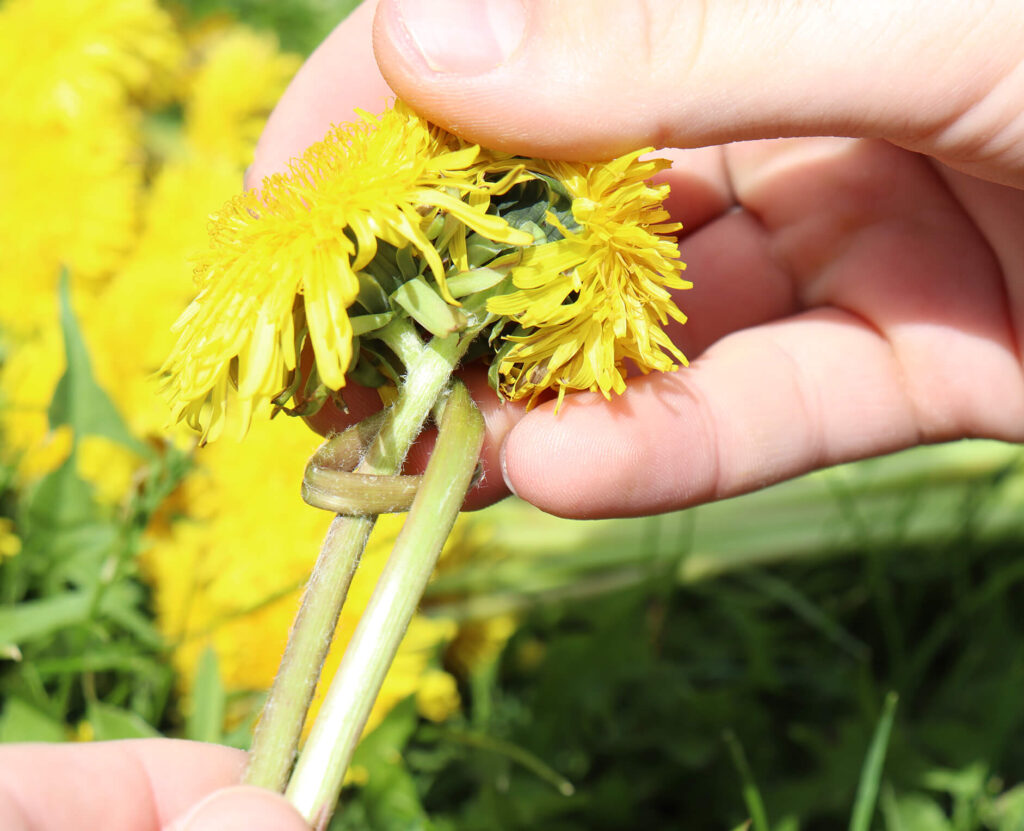
Photo by Karlie Mickanuik
Now is where you can start adding new flowers. Grab another dandelion and place it on top of the bundle of stems to the left of the other flowers, making sure that they’re not too tight together, about half a centimetre to a centimeter between them.
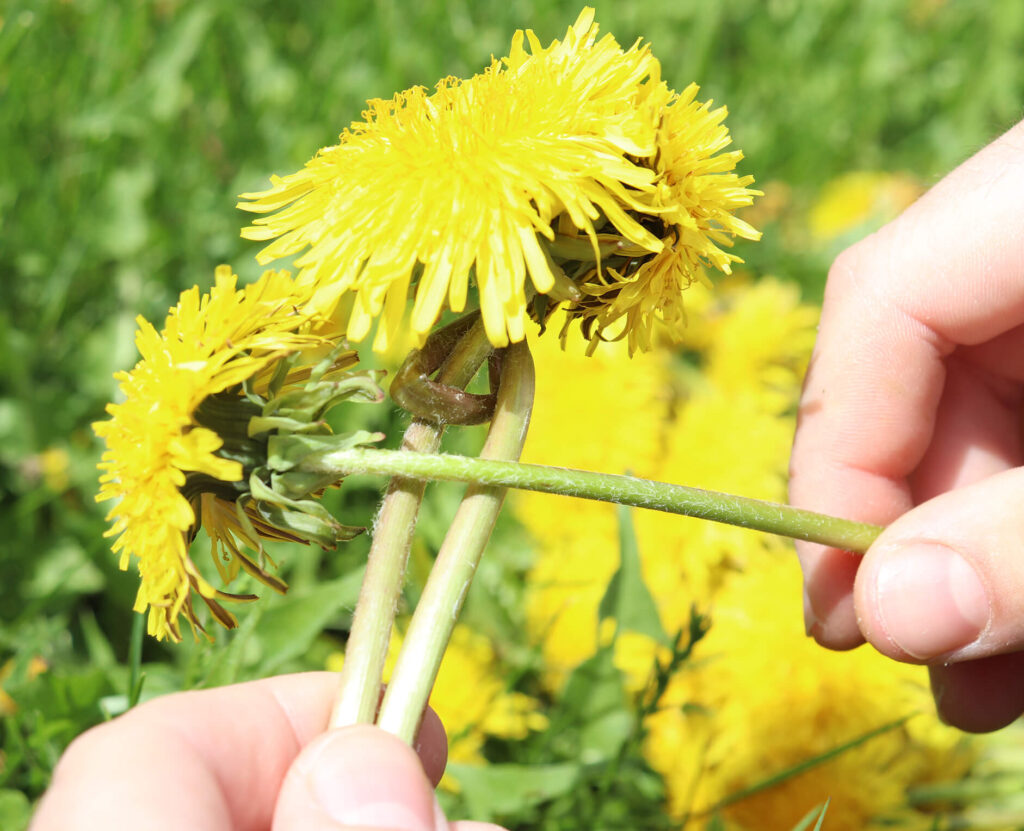
Photo by Karlie Mickanuik
Bend the new flowers stem down and around the back of the chain and set it to the right of the leftmost two flowers.

Photo by Karlie Mickanuik
Bend the stem down and to the left to add it to the bundle of stems.
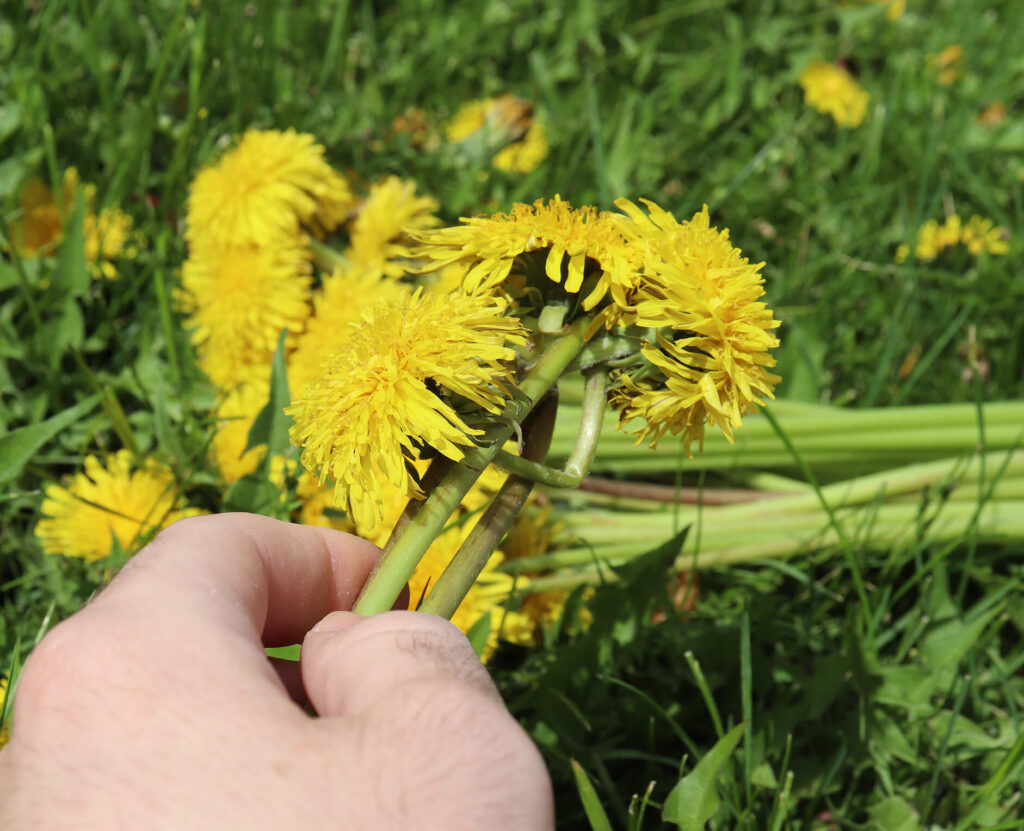
Photo by Karlie Mickanuik
Repeat this process with the rest of the flowers you picked, the whole time checking that it’s the right length to fit your head.
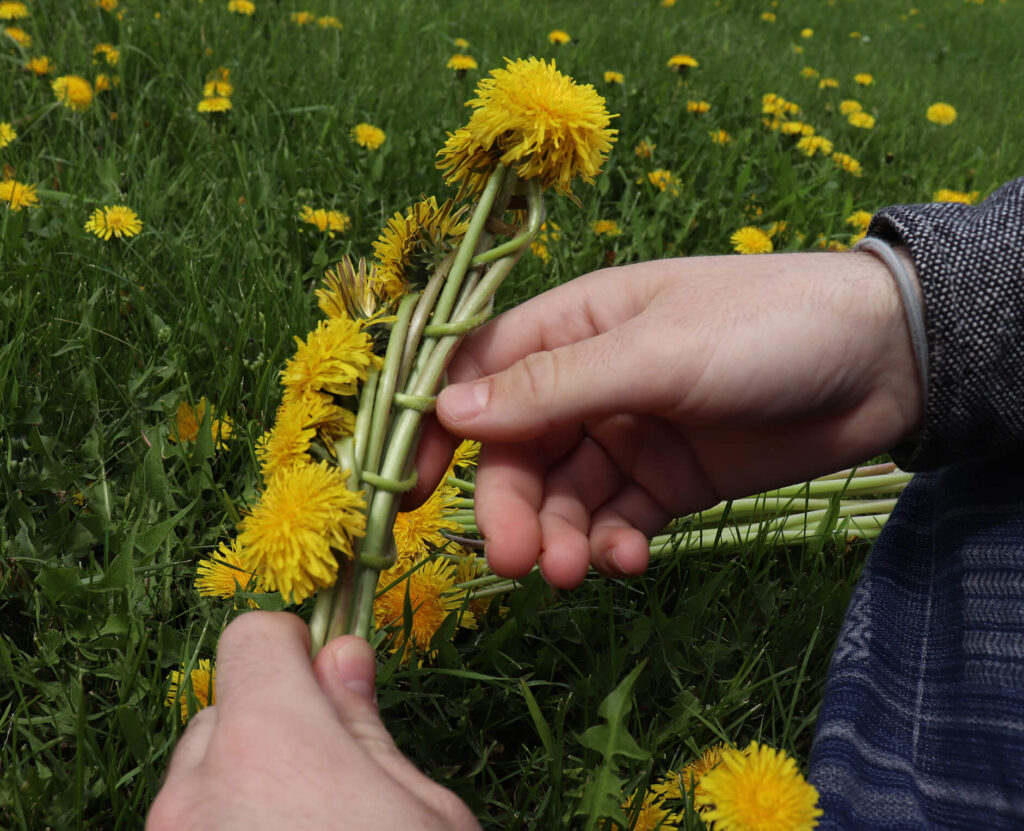
Photo by Karlie Mickanuik

Photo by Karlie Mickanuik
Finally, once the chain is long enough you can thread the end of the stems into the beginning, completing the crown. If you’re having trouble tying it off you can also use things like pipe cleaner, paperclips and broken hair ties to secure the crown.

Photo by Karlie Mickanuik
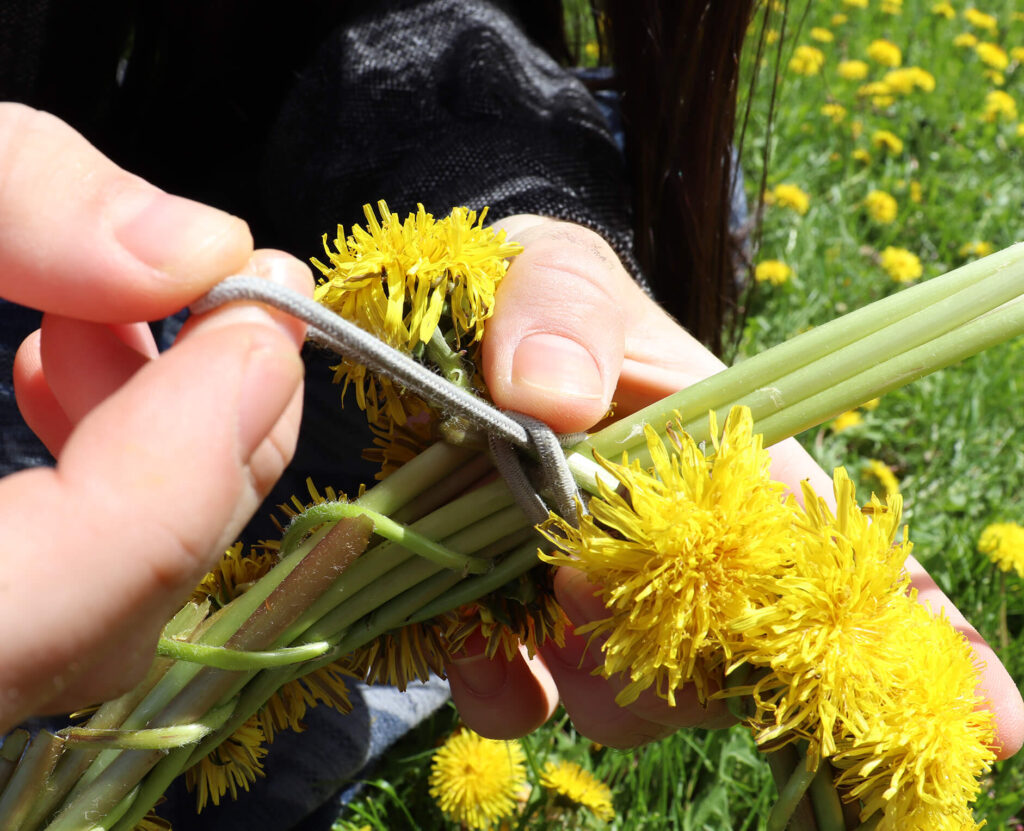
Photo by Karlie Mickanuik
Optional step: To make your crown into a Queens crown, pick some other flowers and thread them in around the crown for a floral masterpiece. You just might make Mayqueen yet.
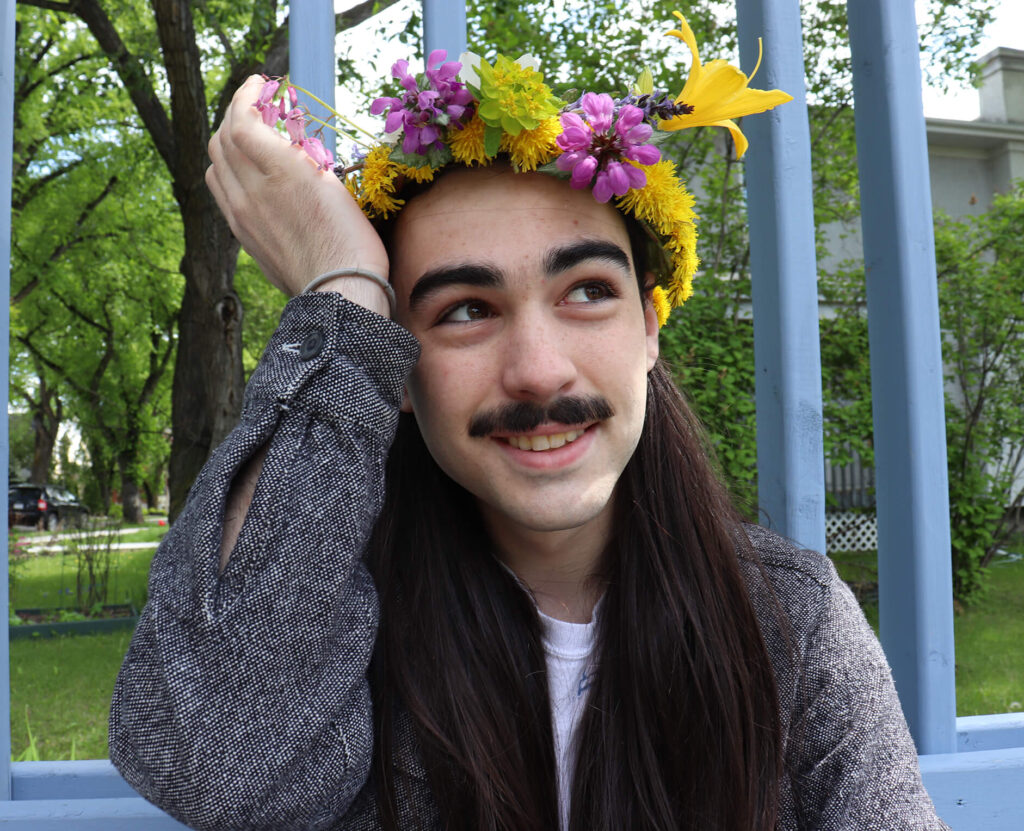
Photo by Karlie Mickanuik
If you follow this guide, tag @thenaitnugget on Instagram to show us how it turned out!